I Employ This DNS Technique To Access Additional Content On My Smart Television
- Jayric Maning
- Jun 14, 2025
- 3 min read
Updated: Jul 5, 2025
Experiencing restrictions on streaming content based on geographic location is exasperating. I fortunately uncovered a straightforward DNS method that expands the availability of shows and movies on my smart TV without compromising my internet speed.
It is astonishing how much streaming content is restricted based on geographical location. This prompted me to seek an alternative solution, leading me to discover Smart DNS Proxy. This specialized DNS service enables access to fresh content on my smart TV without compromising connection speed or complicating streaming.
Smart DNS Proxy operates by managing only the segment of your internet traffic that streaming providers utilize to verify your location. Upon accessing Netflix, Hulu, Amazon Prime, or any similar platform, your device initially queries a DNS server for the site's address. Smart DNS Proxy directs requests to a specialized server that responds in a manner that convinces the streaming provider you are located in a country where the content is accessible. Your actual IP address remains unchanged, and your internet traffic for the video stream directly connects to the streaming provider, ensuring you experience the same speeds as usual—without buffering or lag that may occur with a VPN.
I prefer utilizing a DNS proxy rather than a VPN for watching geo-restricted content for this reason. As it neither encrypts your traffic nor redirects it through another country, I maintain a rapid connection while accessing shows and movies from other regions. I have also discovered it effortless to navigate between various content libraries without the need to change servers or manipulate additional applications.
It is important to recognize that Smart DNS Proxy prioritizes ease and accessibility over privacy. In contrast to a VPN, it does not conceal your browser activity or encrypt your data; therefore, if privacy is your primary concern, a VPN is a superior choice for streaming geographically restricted content in any nation while ensuring a secure connection. If your objective is to effortlessly access more content on your smart TV, Smart DNS Proxy is the solution that fulfills this requirement.
Configuration of Smart DNS Proxy on My Smart Television
Configuring Smart DNS Proxy on your smart TV necessitates the manual alteration of your device's DNS settings. The procedure differs marginally among television brands; nevertheless, the fundamental procedures are consistent across Samsung, LG, Sony, and other prominent manufacturers. I configured Smart DNS Proxy on my Google TV as follows:
Step 1: Acquire Smart DNS Addresses

I begin by registering for a Smart DNS Proxy on my PC. Upon registration, I accessed their inventory of proxy servers. This list comprises all the proxy servers they are hosting.
During DNS configuration, you must supply two DNS addresses to serve as your primary and secondary DNS. In this instance, I select Japan (54.64.107.105) and New Zealand (223.366.64.97).
Tip: Maintain this tab as a reference for future use.
Step 2: Modify DNS Configurations on Smart TV
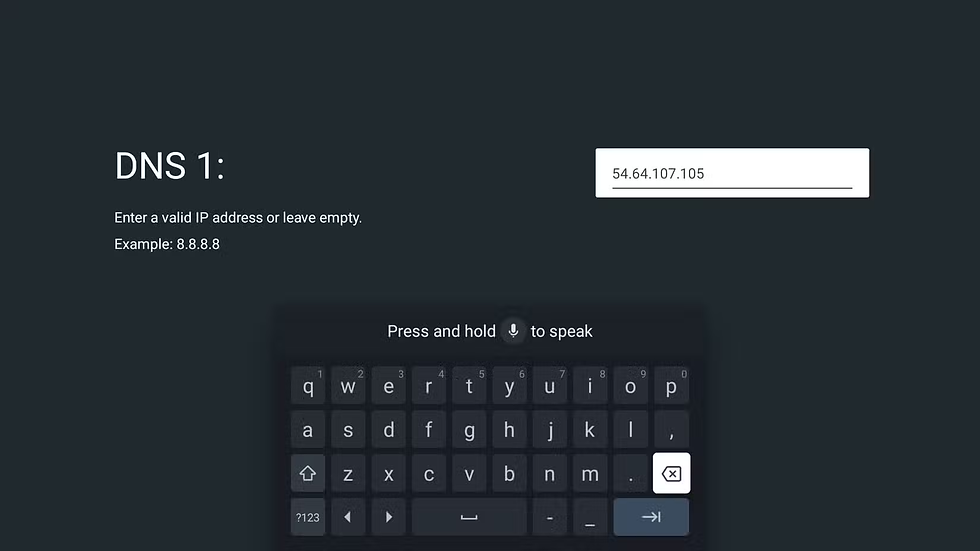
I now use my smart TV remote and select the Home button to enter the settings section. I navigate to Network & Internet, choose my Wi-Fi network, then proceed to IP settings. I then altered the configuration from DHCP to Static. This enables me to designate a specific IP address and DNS without my router intermittently altering them.
Upon selecting Static, my television subsequently requested that I provide my IP address, Gateway, and DNS. I modified only the DNS fields, inputting 54.64.107.105 (Japan) as DNS 1 and 223.366.64.97 (New Zealand) as DNS 2.
Step 3: Preserve and Reboot
Upon inputting the DNS addresses, I preserved the configurations and rebooted my smart TV. This step is crucial as the modifications only become effective following a reboot.
Step 4: Activate Smart DNS Proxy. The SmartDNS connection is operational.
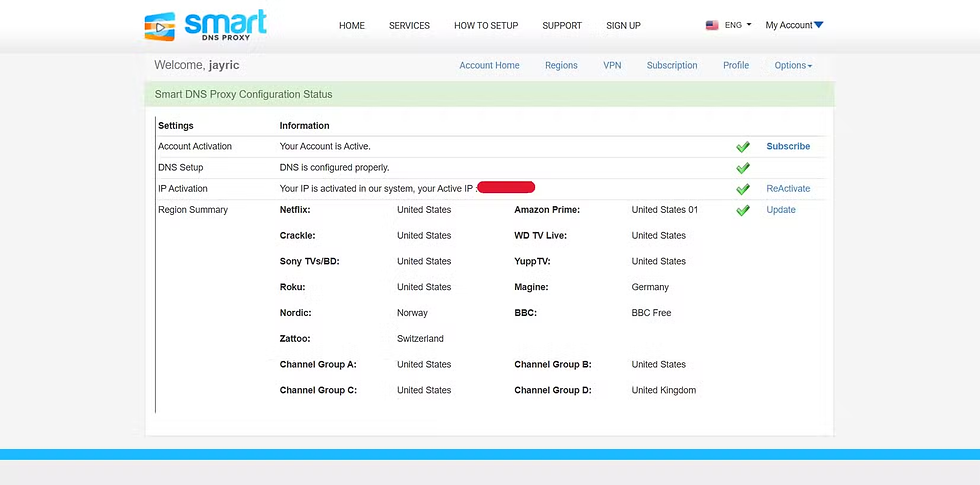
After my TV was reconnected, I accessed a browser on my PC and signed into my Smart DNS Proxy account. The DNS Setup status now displays a check mark, signifying that the configuration has been successfully activated on the Smart DNS Proxy network and is operational.
If the configuration fails, verify for potential DNS errors. The selected DNS server may be presently down. In that instance, utilize the alternative servers listed by Smart DNS Proxy.
Step 5: Evaluate Streaming Access
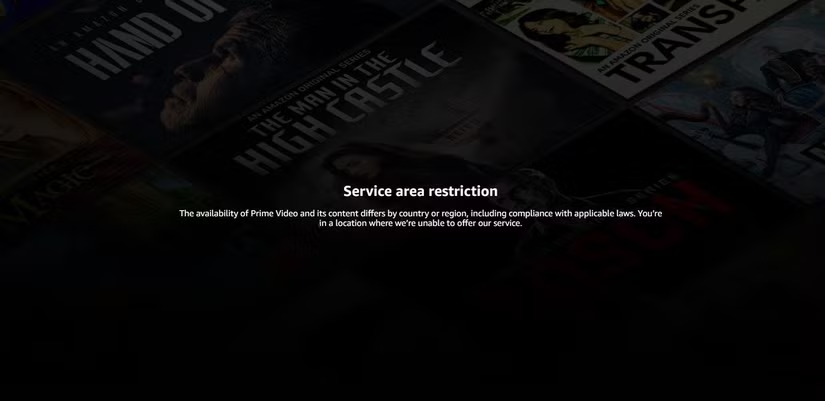

After completing the setup, I accessed Amazon Prime to explore its available shows. I immediately observed that the content was now accessible. The streaming quality was consistently smooth, comparable to other streaming services I utilize.
Accessing additional entertainment on my smart TV was merely a matter of adjusting a few settings. The brief time I dedicated to the setup was undoubtedly worthwhile. If you are fatigued by encountering streaming limitations, consider utilizing Smart DNS Proxy. You may be astonished by the extent of additional stuff you are overlooking.


Comments